Custom attributes management
This guide will walk you through the process of managing custom attributes for a regular user. You need to have an appropriate role to manage users.
What is required?
To successfully complete this topic guide you need to ensure that the following prerequisites are met:
- Onegini Customer Service instance must be running, for the sake of this guide we assume it's available on https://uma.example.com
- Onegini CIM instance must be running, for the sake of this guide we assume it's available on https://idp.example.com
- at least one user must be registered within Onegini CIM instance
Configuration
The custom attributes management feature requires the environment variable ONEGINI_IDP_CCC_USER_PROFILE_EDITABLE_CUSTOM_ATTRIBUTES to be set. It contains a
list of custom attribute names that a user is allowed to manage (add, edit, delete). For
example ONEGINI_IDP_CCC_USER_PROFILE_EDITABLE_CUSTOM_ATTRIBUTES=attr1,attr2,attr3.
Disabling the feature
To disable the feature please define ONEGINI_IDP_CCC_USER_PROFILE_EDITABLE_CUSTOM_ATTRIBUTES property with an empty value.
Managing custom attributes
Each action (edit, delete, add) can be executed from users' profile. For example to manage attributes of Joe Doe with email address [email protected] you
need to:
- Log in to Onegini Customer Service as a user with user management role enabled.
- Find the user with email
[email protected]
Actions are available in the user interface next to each editable custom attribute.
Adding custom attributes
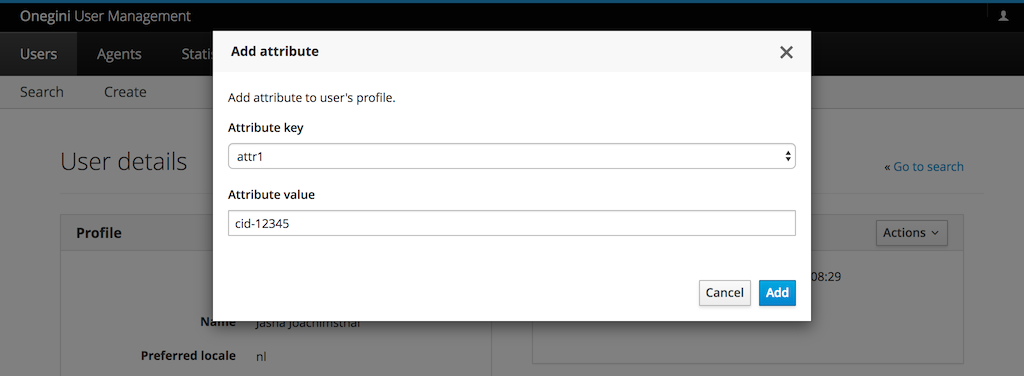
To add a custom attribute, go to the Profile panel in the Users tab and click the button Add custom attribute. This will open a modal window with two
inputs: a drop-down with a list of available custom attributes and an input box where you can enter a value.
Each custom attribute can be added only once. The button Add custom attribute is not present when all custom attributes have already been added.
The drop-down list is populated based on the list of managed custom attributes - see Configuration section above.

Editing custom attributes
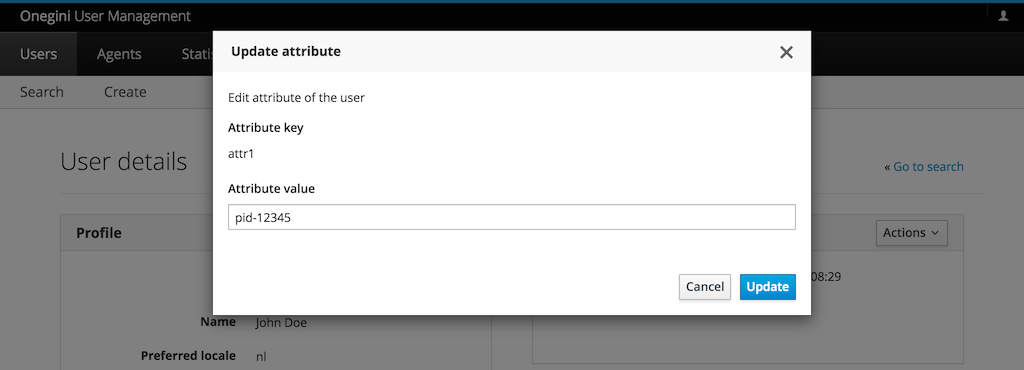
To edit a custom attribute, go to the Profile panel in the Users tab and click Edit next to the attribute you want to edit. This will open a modal window
where you can edit a value of the custom attribute. Once the value is updated click Update to store the new value.
Link Edit is available only for the custom attributes that have been added to the list of managed custom attributes -
see Configuration section.

Deleting custom attributes
To delete a custom attribute, go to the Profile panel in the Users tab and click Delete next to the attribute you want to edit. This will open a modal
window where you can confirm the action.
Link Delete is available only for the custom attributes that have been added to the list of managed custom attributes -
see Configuration section.
