User Profile Attributes
What is a User Profile Attribute?
A User Profile Attribute is a value that is stored in the account of an end-user. It is a value that identifies the end-user. For example, if an end-user has an account in the Onegini iDP, the User Profile Attributes contain personal information like the end-users first name, last name, adress and phone number. Every piece of this personal information is stored in a seperate User Profile Attribute.
When do I use a User Profile Attribute?
User Profile Attributes are pieces of information that help with identifying an end-user. For example, when an end-user creates an account in an online health insurance portal, the end-user can be asked to provide first name, last name, adress and phone number. This pieces of information are exchanged with an organisation.
An administrator can add specific User Profile attributes for an organisation in the Onegini Customer Identity and Access Manager. The end-user will be asked to provide these attributes when he or she registers with the organisation.
Where can I find a User Profile Attribute?
-
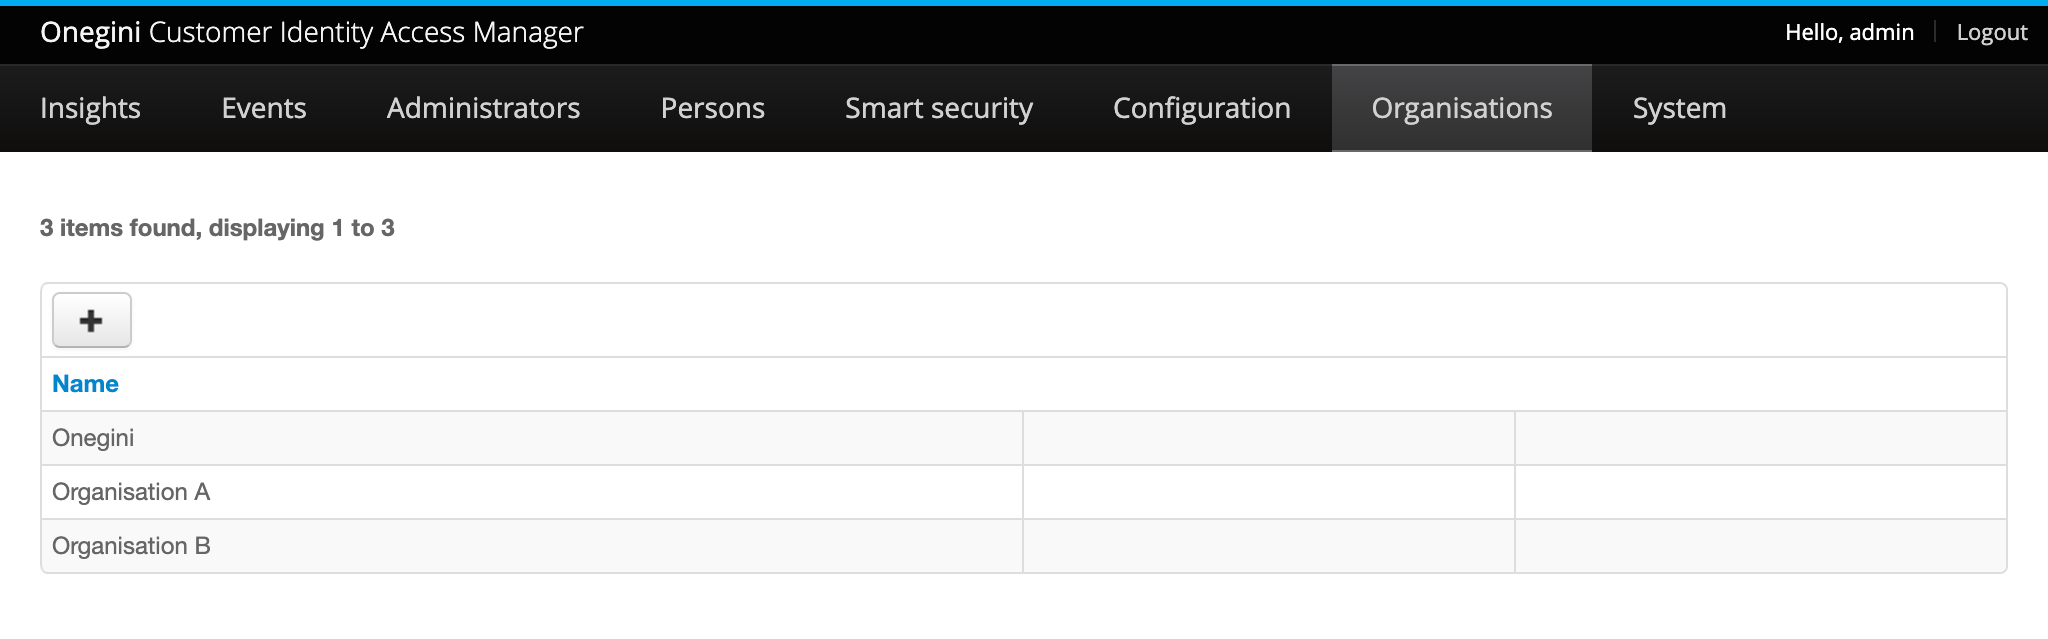
In the Onegini Customer Identity Access Manager go to
Organisations-> Add a new organisation with the [+]-button or click on an existing organisation.
-
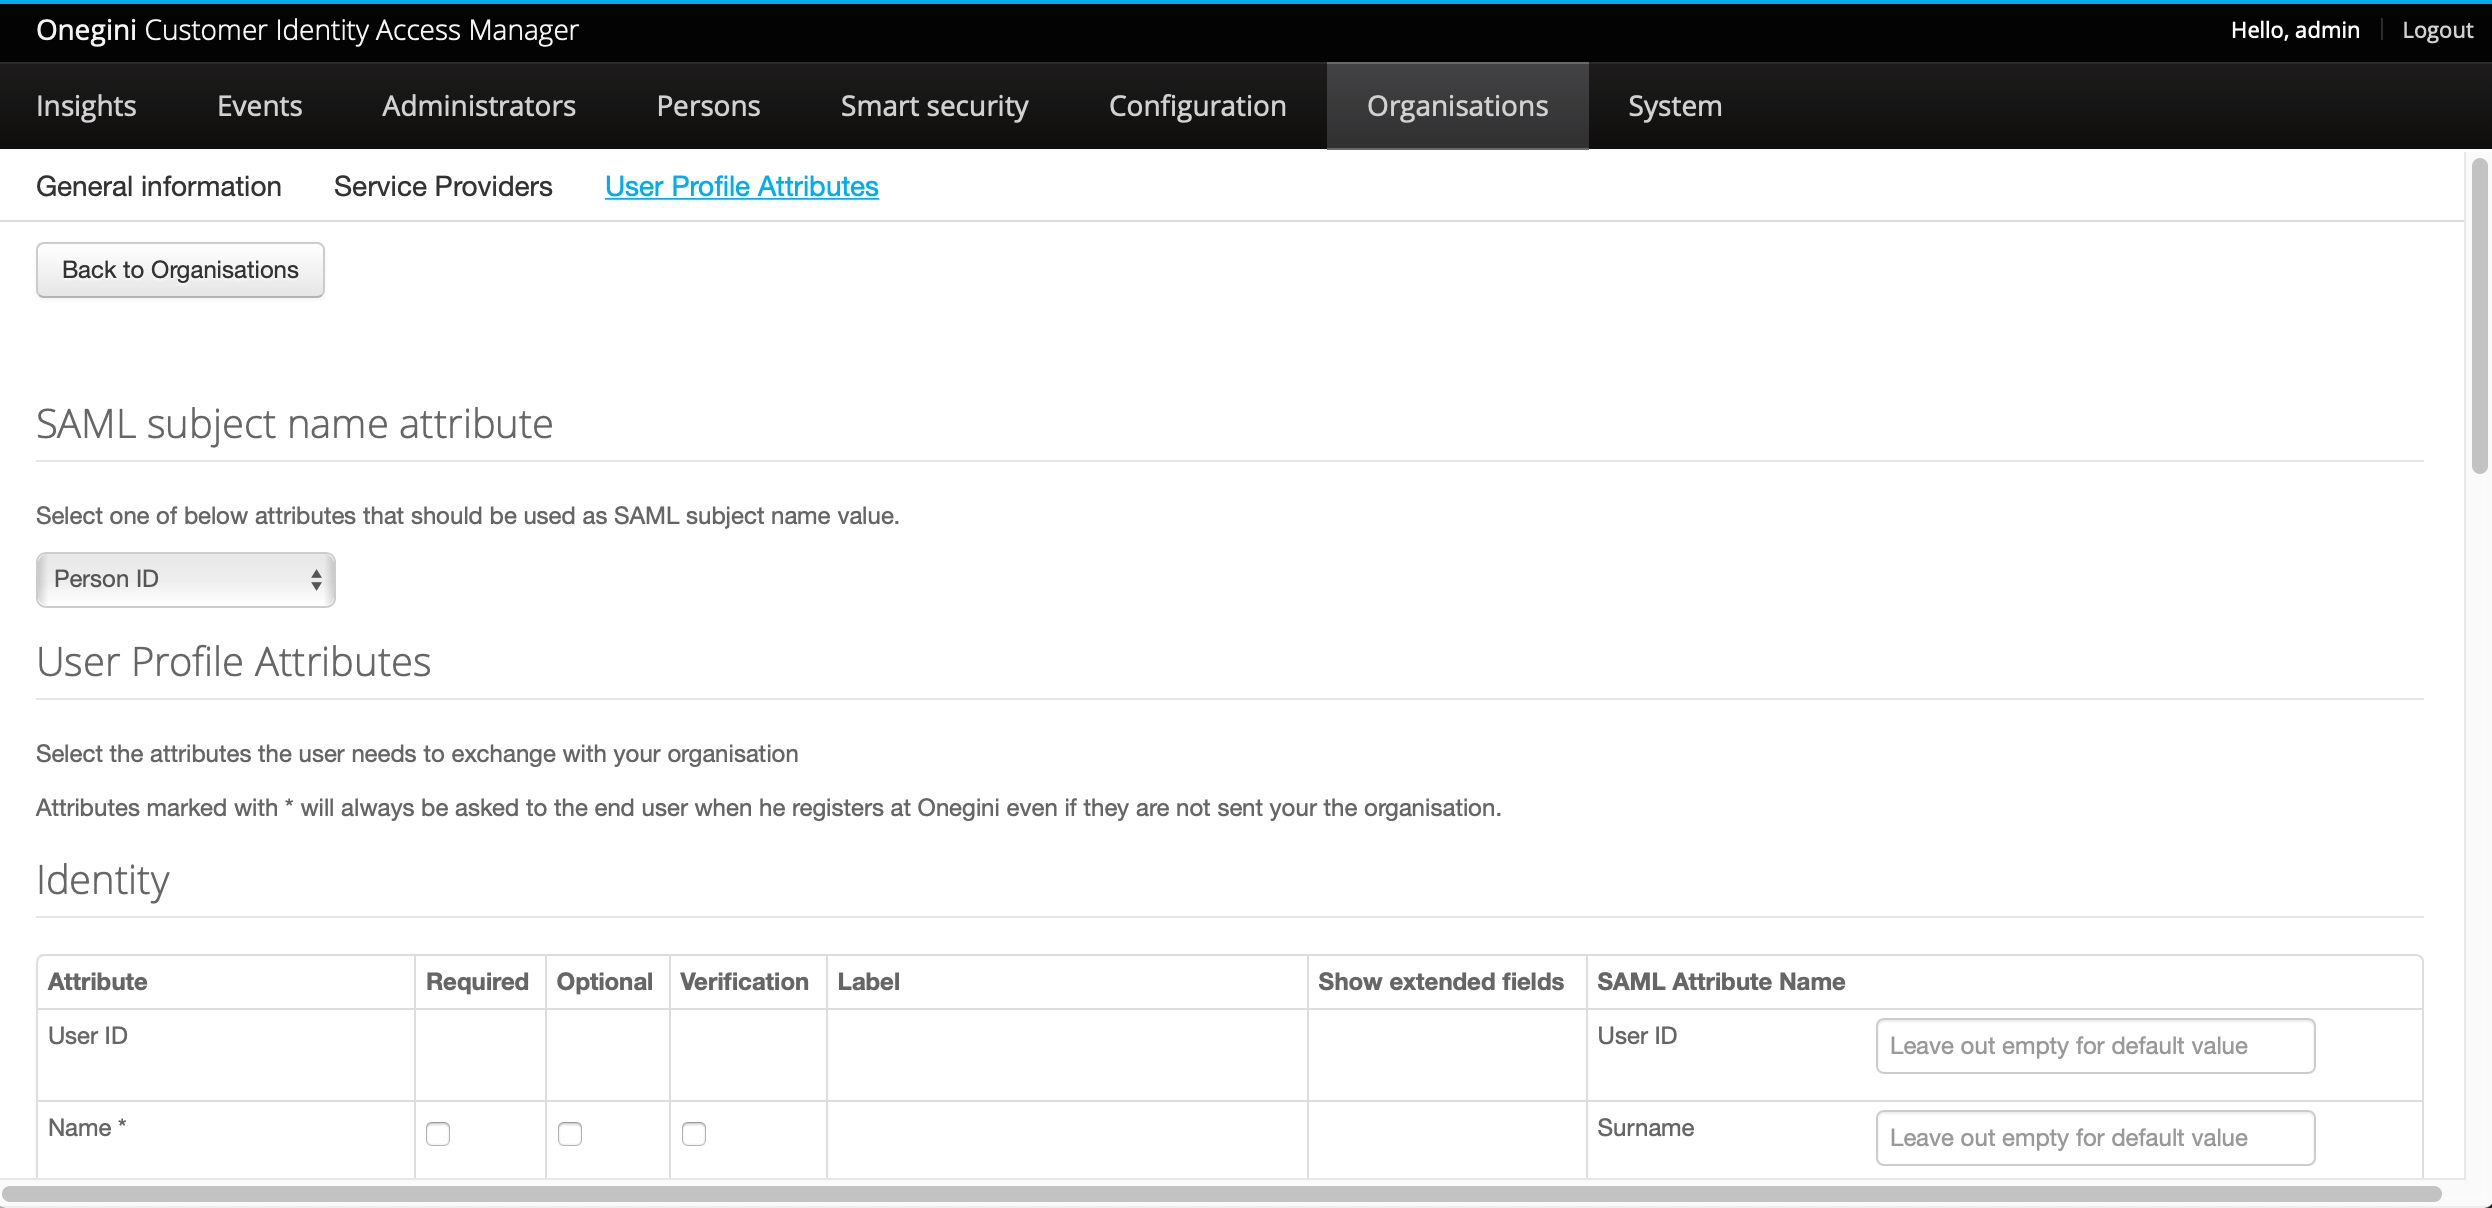
Click the option
User Profile Attributes. The window to configure attributes opens:
How do I add or adapt a User Profile Attribute?
The window User Profile Attributes consists of 3 sections:
- SAML subject name attribute: In this section a mapping for a SAML subject name attribute name can be defined.
- User Profile Attributes | Identity: In this section a table with User Profile Attributes is shown.
- Custom attributes mapping: In this section a custom attribute mapping can be defined by the administrator.
SAML subject name attribute
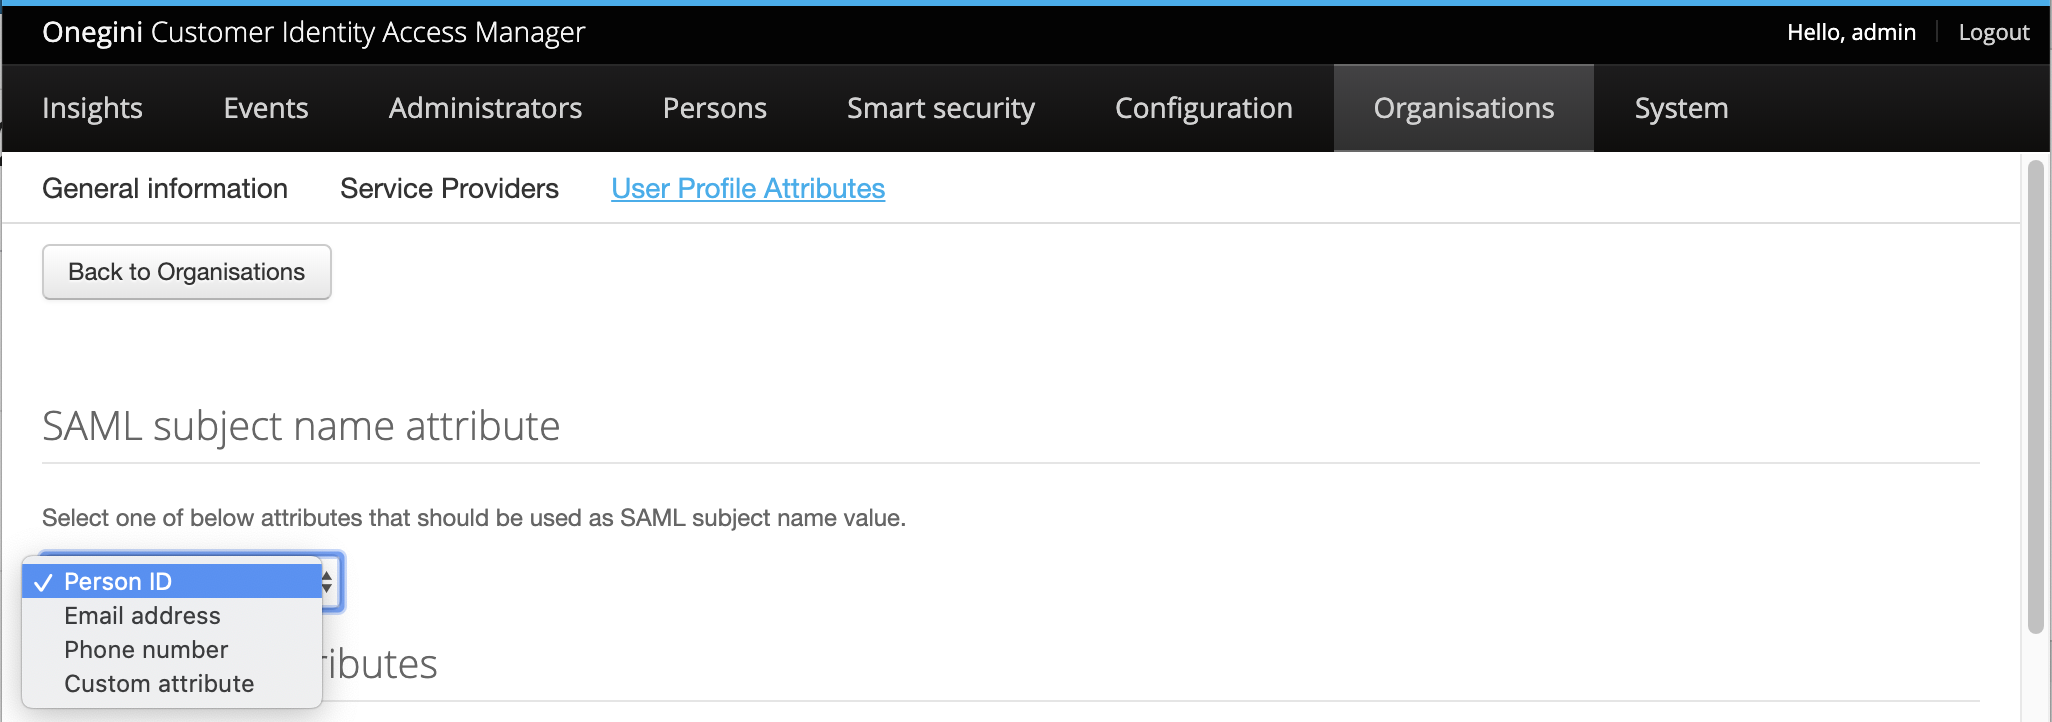
- In the section SAML subject name attribute a mapping for a SAML subject attribute name can be defined.
- In the SAML response to the service provider an user ID will be included. In the field in the section SAML subject name attribute an administrator can select a value for this user ID. Default value is the Onegini
Person ID. - It is possible to select a different value like email address, phone number or a custom attribute.
User Profile Attributes
In the section User Profile Attributes | Identity all the attributes are shown that will be applied to every service provider defined within an organization. The following fields are available:
| Attributes | Required | Optional | Verification | Label | Show extended fields | SAML Attribute Name / Leave out empty for default value |
|---|---|---|---|---|---|---|
| The attributes that are predefined. Attributes marked with an * are obligatory for the end-user. | If this checkbox is enabled for an attribute, it is required. | If this checkbox is enabled for an attribute, the attribute is optional. | If this checkbox is enabled, the attribute needs verification. | In case there are two address attributes, they can be distinguished with a label. For example as the default address, work or billing address. | When this checkbox is enabled, it is possible to show extra field to be filled in. For example 'Region'. | In this field the default name for an attribute is shown. In the field 'Leave out empty for default value' the default name can be overwritten with another name. |
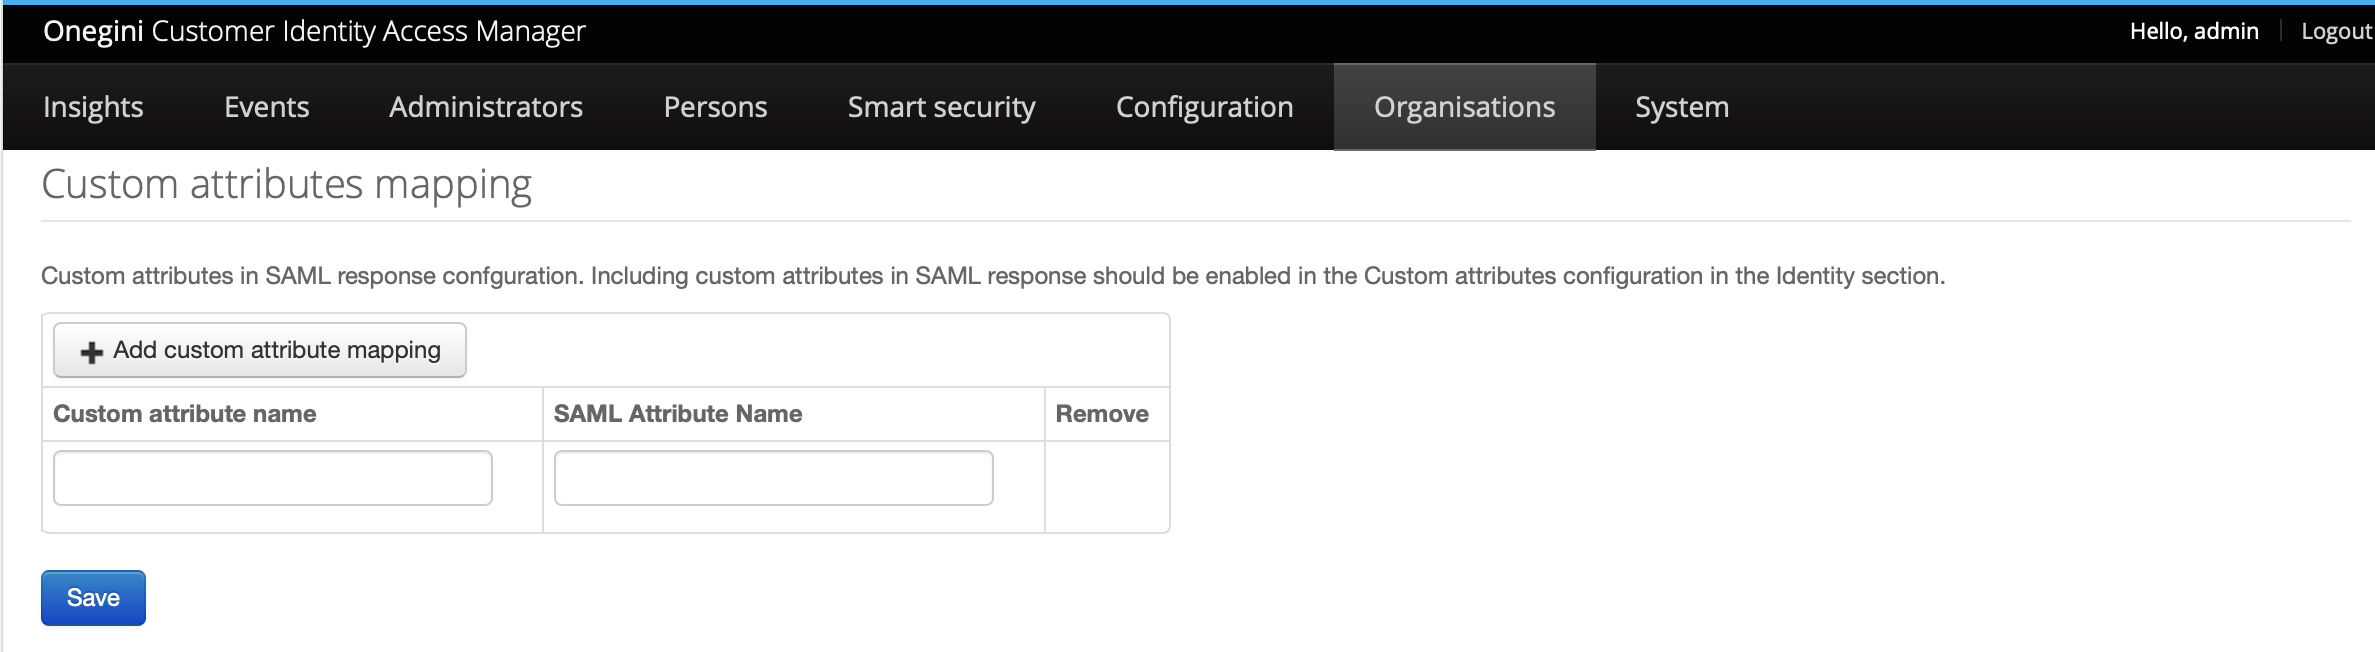
Custom attributes mapping
If an attribute is not listed in the User Profile Attributes | Identity section, a custom attribute can be defined and mapped in the Custom attributes mappings section at the bottom of the page. By adding a custom attribute, the attribute will be mapped within the SAML response. However, it is important to keep in mind that a custom attribute will only be provided in the SAML response if an attribute with a given key (i.e. name) exists for a user.
Attributes on Service Provider Level
- It also possible to redefine attributes on the service provider level.
- In Onegini Customer Identity Access Manager go to
Organisations-> Add a new organisation or click on an existing organisation ->Service Providers-> Click on the [Add]-button or click on an existing service provider.
Note
If you want to redefine attributes on the service provider level, first enable the checkbox 'Redefine configuration for this Service Provider'.
- If the checkbox 'Include unmapped custom attributes' is enabled all unmapped attributes will be included in the response despite having no mappings defined.